Managing your applets
This article covers all the basics of moving, renaming and "starring" your applets as favorites.
Rename your applet Copied! Link to this section
The name you give your applet, doesn’t just help you find it - it’s also the default name shown to the world when you publish it.
Applet will automatically generate a name with AI after your first prompt, but we highly recommend you change it to something more creative.
Just click on the name and choose “Rename applet”:

Pick an icon and a color Copied! Link to this section
This is a simple (and fun) way to make it easier to scan through your applets - just open any applet, and click on the icon to pick a new one, in a color of your choice:

Star an applet to save it as a favorite Copied! Link to this section
We all have our favorites (like my favorite Beatle is Ringo obviously) and you'll want a way to make them stand out, to find them easily.
To do this for an applet, simply click the name and choose “Add to starred”:
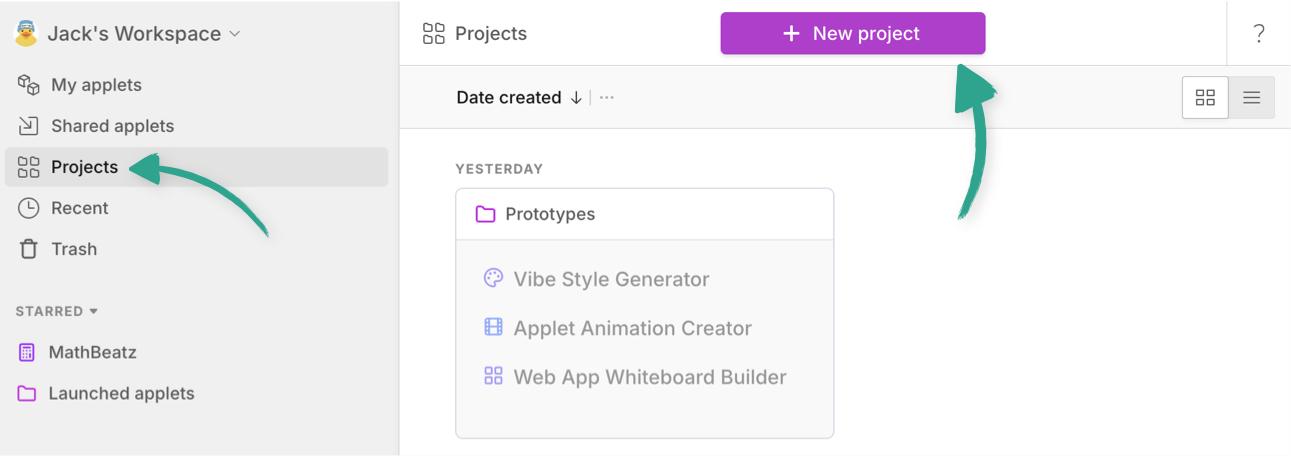
Organize your applets with projects Copied! Link to this section
If you’re working on multiple applets for the same project, with your team or with a client - it’s a great idea to keep those applets organized in a project - a project is basically a folder, and keeps things tidy.
To create a new project just go to the projects tab, and click “New project”:
Give your project a name, and optionally pick an icon and color to help it stand out:

Add applets to projects Copied! Link to this section
To add an existing applet to a folder, select it then click "Move" and choose the project from the list:

Finally, if you have an applet open, you can use the command menu, just type Command (or Ctrl) + K, and then type move and hit Enter:

Move an applet to another workspace Copied! Link to this section
Right now, the best way to move an applet to another workspace is to share it with someone in another workspace, and then have them copy it to a new applet in their workspace.